Application Store - Intrexx Share 2.1 - Tasks
Tasks can be created and organized in Intrexx Share with this add-on. The Tasks add-on can be imported into your portal as usual.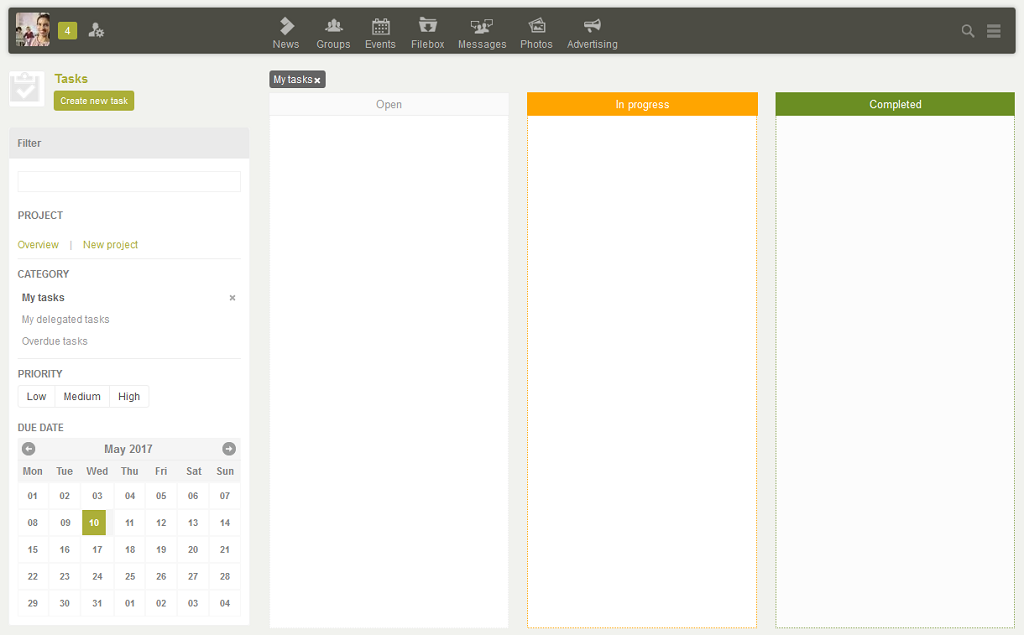
When you open the add-on in the browser you'll also find the navigation bar from Intrexx Share that enables you to directly switch to Intrexx Share. You can also switch to the add-on via the navigation bar from within Intrexx Share. In doing so, you'll barely notice that you've left Intrexx Share and are now in the Tasks add-on. Intrexx Share and Intrexx Share add-ons flow seamlessly into one another.
1. Create project
Tasks are distributed and organized within the context of projects. Start by creating project by clicking on the link New project on the left of the app in the Filter area.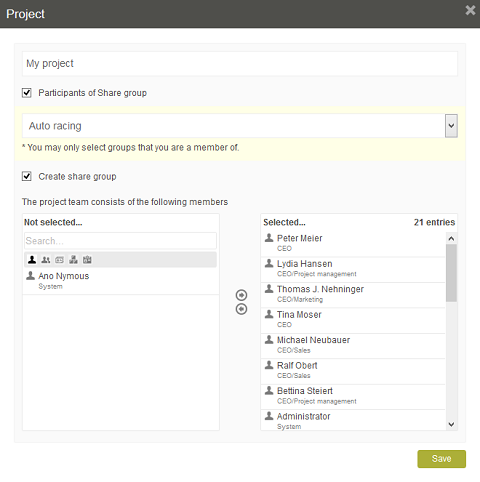
The project team is defined here.
Title
Provide the project with a title here.Participants of Share group
With this setting, the members of an Intrexx Share group can be transferred to the project team. Select the group in the drop-down list beneath this setting.Create Share group
With this setting, a Share group with the members defined here will be created automatically when you click on Save. The title will be used as the group name.The project team consists of the following members:
Individual users or groups can be added to the project team here. The users selected here will be added to the users that were added due to the settings made above. Users can be moved from the Not selected list to the Selected list by double-clicking on them. This works in reverse as well. Add the users, who should be in the project team, to the Selected list. Click on OK.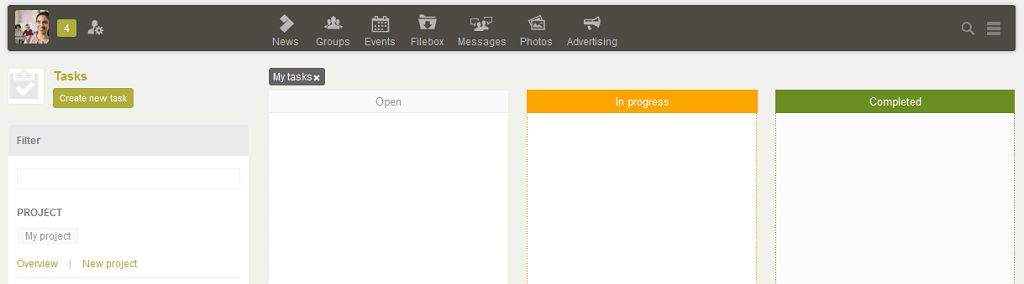
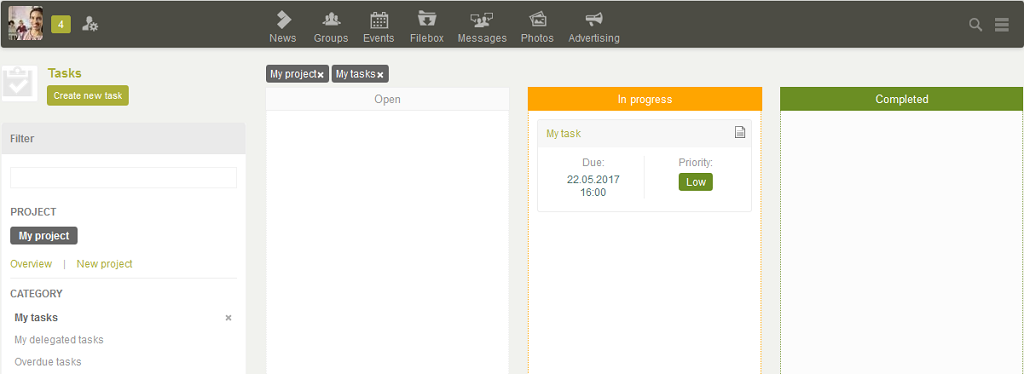
The project is now shown in the filters.
2. Project overview
Projects can be edited and also deleted via the Overview link.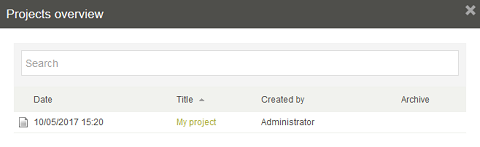
Click on
3. Create task
To create a new task click on Create new task.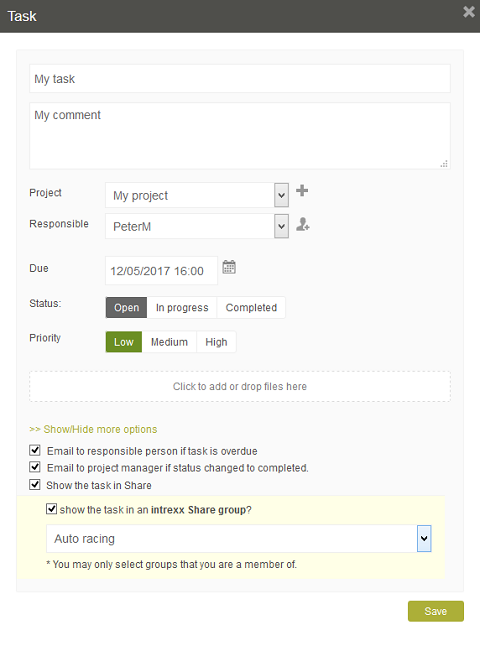
Title
Provide the task with a title here.Comment
Enter a comment for the task here.Project
Select the project to which the task should be assigned.A new project can be created by clicking on this button.
Responsible
Select the employee who is responsible for the task.Due
The task must be completed by the date entered here.Status
Here, you can define whether the task is open, in process or completed.Priority
Define the tasks priority as low, medium or high.File
Any number of files relevant to the task can be uploaded here.Show/Hide more options
Shows or hides the bottom area of the dialog.Email to responsible person if task is overdue
If the date, which you entered in the Due, field is exceeded, an email is automatically sent to the employee who is responsible for it.| For the email notification to work correctly, the Email service needs to be configured. |
Email to project manager if status is changed to completed
If the status is changed to Completed, an email is automatically sent to the employee who is responsible for the project.Show the task in Share
The task is shown as a post in the News module. The permissions defined for the app apply here.Show the task in an Intrexx Share group
The task is shown as a post in the group selected here. The permissions defined for the app apply here. Click on OK, once you've entered your content.4. Creator of the task

The task will now be shown in the middle area of the Tasks application, provided the filter My delegated tasks is selected in the Filter by categories on the right-hand side. Clicking on the task's title opens a page where the task's data will be shown.
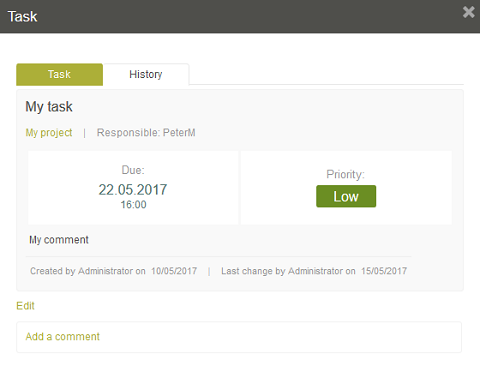
The creator of the task can edit the task's data by clicking on
Change status
Click on
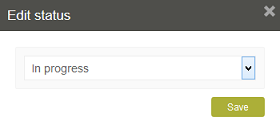
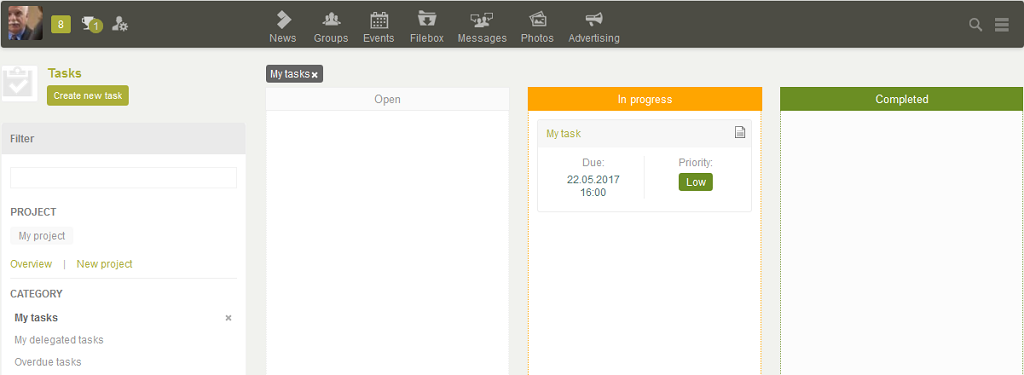
The task is now shown in the In progress column.
Completed tasks will be shown in the Completed column.
Requirements
The following is required to display the task in Intrexx Share:- The user is defined as Responsible for the task.
- The user must have appropriate permission as described in the Permissions chapter
5. Perform task
The responsible user will now find the task in their app Tasks that they can open either from the portal menu structure or directly from within Intrexx Share via the navigation bar. The user can change the status and other data for the task by clicking on
6. Permissions
So that the app Polls is available with all of its functions you need to give the users, who will create and contribute to the polls, the following permissions:-
Application
Use application -
Pages
Use page for all pages of the application. -
Data groups
Full access for all data groups.