Advanced Techniques - Multiple selection API
Create multiple selectionAPI
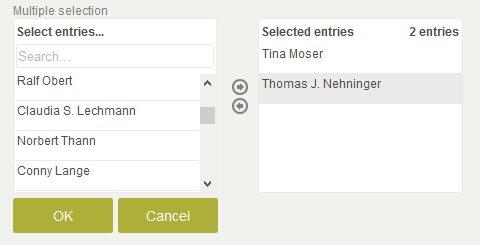
The Multiple selection differentiates between displayed and saved values. If, for example, a User ID is to be saved, the user's full name can be used for the display. To display the additional functions that API provides, we will start by adding and configuring a Multiple selection element.
Create multiple selection
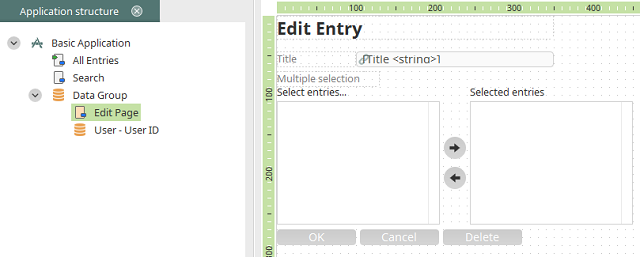
Add a Multiple selection to an edit page.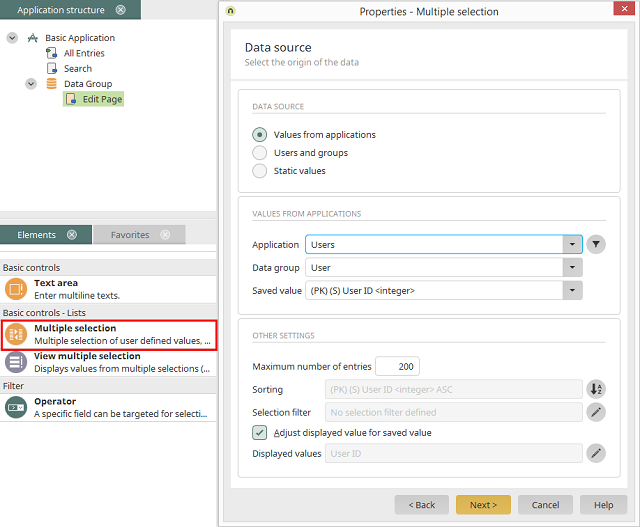
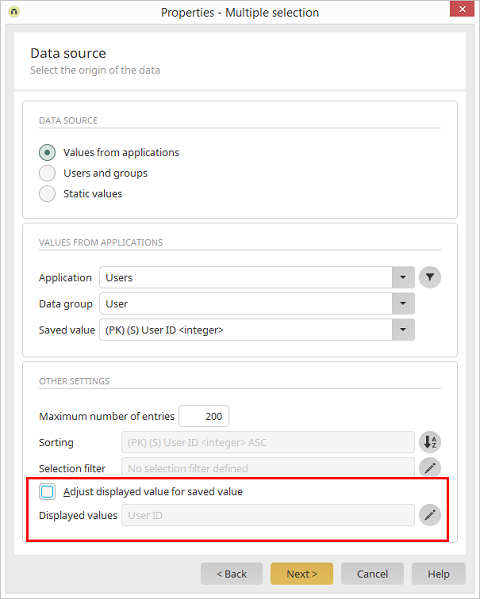
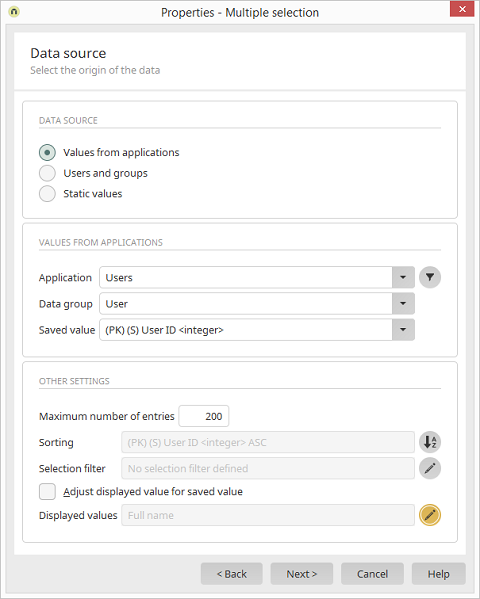
On the Data source tab, select the option Values from applications. Select Users both as the application and as the data group. In the saved value list, we need the data field PK (S) User ID. This means that the User ID is saved for each user that is selected by the end user in the multiple selection. Because the end user wants to see the name of the user and not the User ID, the setting Adjust displayed value for saved value needs to be deactivated.
The displayed value can be selected by clicking on
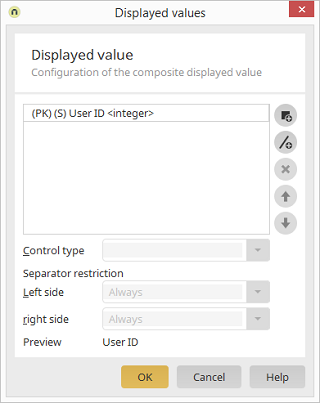
Because the User ID isn't needed for the display, you can remove this entry from the list by clicking on
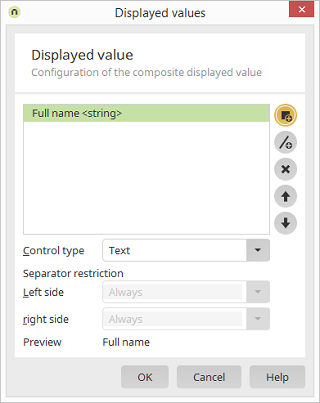
Click on OK.
Click on Next.
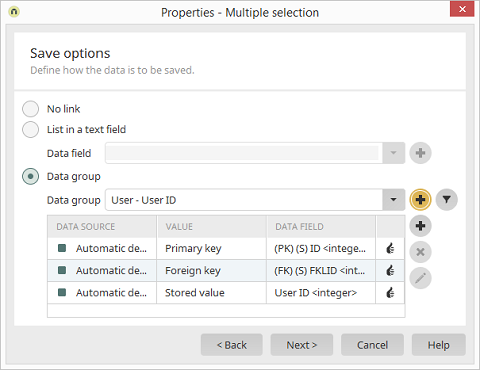
Here in the Save options, the field is defined where the value to be saved is stored. With the option Data group, a subordinate child data group is automatically generated - in our example the data group User - User ID. The name of the data group comes from the application and data group that you selected as the data source in the previous step. Click on Next.
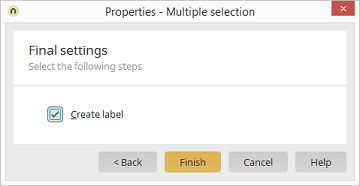
Click on Finish.
Save and publish the application.
The multiple selection can now be used in the browser.
API
The following examples demonstrate the various options for reading or affecting the multiple selection with JavaScript.var element = getElement("GUID_CONTROL"),
// Read the selected entries (Array)
var selectedItems = element.oUp.getSelectedItems();
// Read the selected entries as a list
// (separated by a double pipe ||)
var selectedItemsStuffed = Browser.getValue(element);
// Define the number of selected entries
var selectedSize = selectedItems.length;
// Read the available entries (Array)
var searchedItems = element.oUp.getSearchedItems();
// Define the number of available entries
var searchedSize = searchedItems.length;
// Move all elements to the list of selected entries
element.oUp.moveAllToSelected() ;
// Remove all elements from the list of selected entries
element.oUp.removeAllFromSelected();
// Moves all highlighted entries from the list of available
// entries to the list of selected entries
element.oUp.moveToSelected();
// Moves all highlighted entries from the list of selected
// entries to the list of available entries
element.oUp.removeFromSelected();
// Searches for an entry with the specified search term.
var query = "Search term";
element.oUp.search(query);
// Searches for entries in the list of available entries
// based on an array with GUIDs. The found elements are
// moved to the list of selected entries. Depending on
// the selected mode, these are appended (append)
// or replaced (replace)
var mode = "append";
var guids = ["GUID1", "GUID2", ...];
element.oUp.selectItemsByGuid(guids, mode);
var eventType = "mark";
element.oUp.addListener(eventType, function () {
  alert("Action triggered");
});