Setup - Linux with GUI
1. Start setup
After downloading Intrexx, unzip the downloaded package. Then start the file setup.sh. Select Complete installation and follow the instructions in the dialog. Then open the Portal Manager, select New portal, and, using the following dialogue, create a new portal.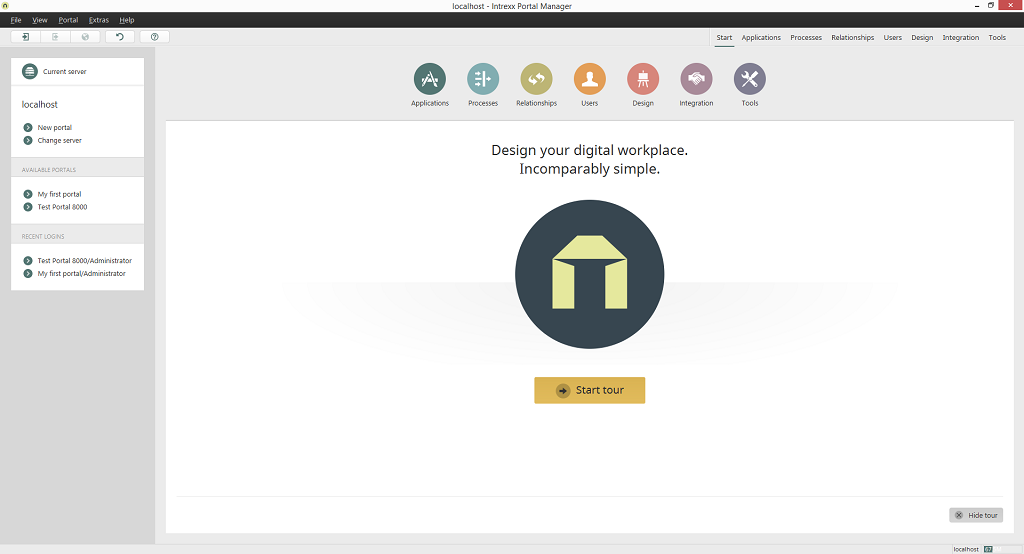
While creating a portal, you can use the PostgreSQL database, and the newly created intrexx user. Please enter the following connection data:
- Database server
localhost - Port number
5432 - Login
intrexx - Password
KENNWORT (the password previously assigned to the user)
SuSE
systemctl start / stop / restart / status upixsupervisor
systemctl start / stop / restart / status upixderby
systemctl start / stop / restart / status upixtomcat
systemctl start / stop / restart / status upixp_Portalname
systemctl start / stop / restart / status upixsolr
Fedora / RedHat
systemctl start / stop / restart / status upixsupervisor
systemctl start / stop / restart / status upixderby
systemctl start / stop / restart / status upixtomcat
systemctl start / stop / restart / status upixp_Portalname
systemctl start / stop / restart / status upixsolr
Debian
/etc/init.d/upixsupervisor start / stop / restart / status
/etc/init.d/ upixderby start / stop / restart / status
/etc/init.d/ upixtomcat start / stop / restart / status
/etc/init.d/ upixp_Portalname start / stop / restart / status
/etc/init.d/ upixsolr start / stop / restart / status
Ubuntu
initctl start / stop / restart / status upixsupervisor
initctl start / stop / restart / status upixderby
initctl start / stop / restart / status upixtomcat
initctl start / stop / restart / status upixp_Portalname
initctl start / stop / restart / status upixsolr
2. PostgreSQL installation
To use a PostgreSQL database for Intrexx Professional, it must be installed afterwards as a component of any current Linux distribution, together with the relevant system tools. You can find out more about which Versions of PostgreSQL databases are supported by Intrexx here.SuSE
With SuSE Linux, use (for example) the system program yast or yast2. There you will additionally need to install the packages postgresql (Clients and Utilities) and postgresql-server (Server). It is also recommended that pgadmin3 is installed to manage the databases, provided a desktop environment is available on the server. If you only have the command line available, you can install PostgreSQL as the root user in the following manner:zypper install postgresql postgresql-server
Fedora/Red Hat
Open the terminal as the root user and enter the following command:yum install postgresql postgresql-server
Ubuntu/Debian
Use the Software Center and Linux, or the Synaptic Package Manager, in Debian. Alternatively, open the terminal and enter:sudo apt-get install postgresql
service postgresql start
- SuSE
zypper install nano - Fedora/RedHat
yum install nano - Debian/Ubuntu
apt-get install nano
3. PostgreSQL configuration
postgresql.conf
So that you can edit it, open the filenano /etc/postgresql/9.1/main/postgresql.conf
#listen_addresses ='localhost'
listen_addresses = 'localhost'
#port = 5432
port = 5432
tcpip_socket = true
pg_hba.conf
So that you can edit it, open the filenano /etc/postgresql/9.1/main/pg_hba.conf
host all 127.0.0.1/32...
service postgresql restart
su
su postgres
psql -U postgres template1
This is psql <VERSION>, the interactive PostgreSQL terminal.

Enter:
\copyright for distribution terms
\h for help with SQL commands
\? for help on internal slash commands
\g or terminate with semicolon to execute query
\q to quit
template1=#
CREATE USER intrexx PASSWORD 'password' createdb;
ALTER USER postgres PASSWORD 'password';
sudo -u postgres psql
\password postgres
4. Parallel installations
If you would like to install multiple instances of Intrexx, please consider the following points:-
Installation path
Use a different installation directory. Otherwise the new setup will replace the existing Intrexx installation. -
Instance name
Enter a different, unique instance name in the "Extended settings" in the installation summary. Otherwise the new setup will replace the existing Intrexx installation. -
Ports
Make sure the ports for the new Intrexx services and the existing ones are different. -
Database
Use a different portal database. It is especially important for test and development systems that you don't use the same database as the productive system.