Connector for Microsoft Exchange in applications
Exchange applicationsCreating Exchange applications
How to configure a connection to Microsoft Exchange in Intrexx can be found here.
Information regarding Exchange data sources in processes can be found here.
Exchange applications
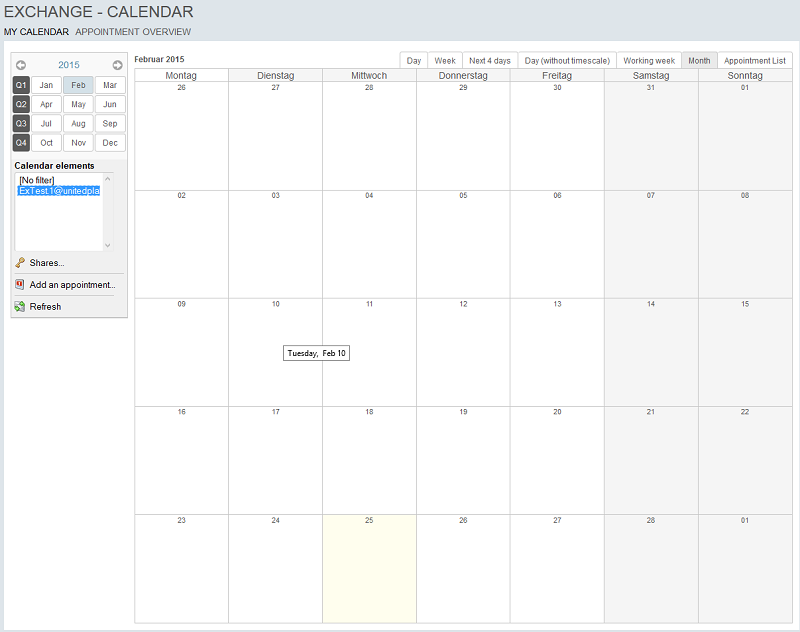
In the installation directory <intrexx>\adapter\microsoft_exchange you'll find the file exchange_applications.lax which you can import into your portal as usual. If these applications are called up for the first time in the portal, your login data will be requested with a login box. Depending on the configuration of the connection to the Exchange server, the login will then no longer be requested the next time an Exchange application is accessed. In the following, you will find a short overview of the features of the Intrexx Exchange applications.Exchange - Calendar
The handling of appointments is one of the most important tasks of the Connector for Microsoft Exchange. The following areas of use are supported by the adapter:- List of one's own appointments for the day in a table display
- Display of an individual appointment
- Display of participants
- Display of attachments, with download
- Display of one's own appointments in calendar display, with the ability to move appointments via drag & drop
- Display of entries for public calendar entries with Exchange permissions taken into account
- Display of users that are recognized as resources, such as conference rooms
- Creating appointments
- Editing appointments
- Deleting of appointments
- List of entries using tables, free layout tables and calendars
By default, the subject and description of private appointments in public calendars of other users will be shown as "private" and cannot be changed. This behavior can be deactivated, in the properties of the Appointment data group in the expert settings, by creating an additional setting, hidePrivateAppointmentsOfSharedUsers, with the type boolean, and assigning it the value false.
Exchange - Contacts
With this Intrexx Exchange application, you can access your contacts, as well as change and/or show them. The following functions are supported:- Creating one's own contacts
- Changing one's own contacts
- Deletion one's own contacts
- List of contacts via tables, free layout tables, calendars
- Display of all contacts on mobile end devices
- Use of dynamic filters
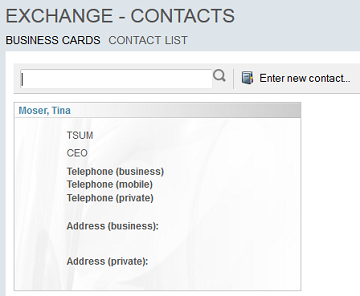
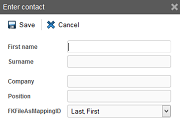
Via the Enter new contact link, a tooltip will be opened, in which you can enter the contact data.
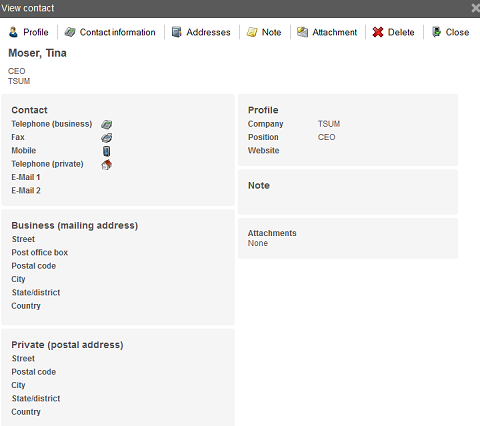
If you click on a contact in the contact overview, you will reach the detail view.
Exchange - Notes
Using the adapter, you can access your notes in Exchange, as well as change and display them. The following functions are supported:- Create notes
- Edit notes
- Delete notes
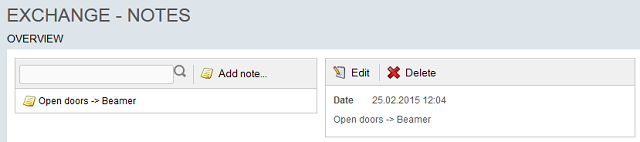
The text for a note can be changed by clicking on Edit.

Exchange - Emails
This Intrexx Exchange application will show you your personal emails from the inbox, sent mail, and deleted folders. The following folders are available:- List emails with tables, free layout tables, calendars
- Display and selection of the folder structure of the personal mailbox
- Link on the OWA
- Notification of new emails
- Display number of unread emails
- Display emails
- Create emails
- Delete emails
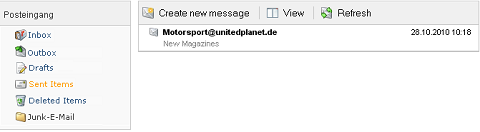
If you click on an email, the detailed view will be shown.
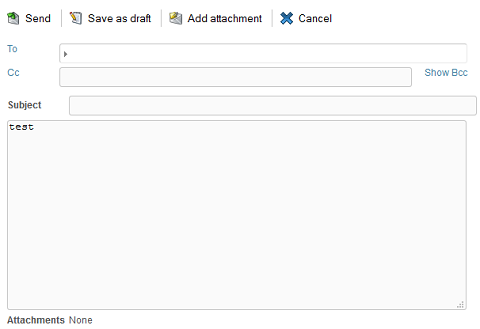
Clicking on Reply allows the reply to be created and then sent.
Exchange - Resource
The resource view makes possible a handy display of appointments for individual employees. The appointments can be filtered however you wish. In addition, the user can set whatever data she wishes to view from other employees.In this it is decisive to what extent the user possesses corresponding permissions to the appointments of additional resources. These permissions can only be assigned by the corresponding users via Microsoft Outlook.
In addition, the possibility exists to not only execute access to the appointments of individual users with the individual account of the current portal user, but rather to enter a specific account for the application, in the user content of which the individual appointments will be accessed.
This makes it possible, for example, to create a Sales mailbox in Exchange. This mailbox will give the individual sales employees access permissions to its personal calendar. In this way, you will be able to make possible complex views of the appointments of individual users within Microsoft Exchange with only a few changes to the permissions structure.
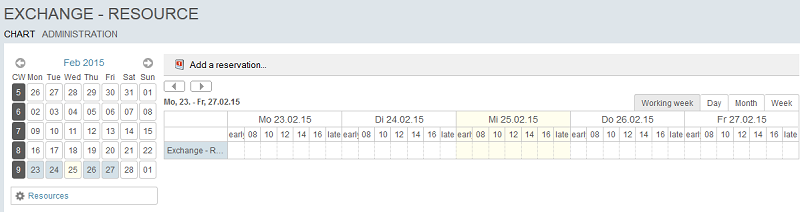
The resource overview accesses the public calendars directly and shows them in a concise manner in an individually adjustable chart.
Exchange - Tasks
With the adapter, you can access your tasks in Exchange and then correspondingly change or show them. The following functions are supported:- Enter own tasks
- Edit own tasks
- Delete own tasks
- List tasks with tables, free layout tables, calendars
- Display of all tasks on mobile end devices
- Use of dynamic filters
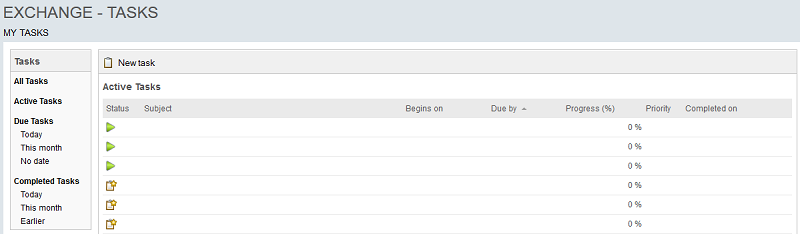
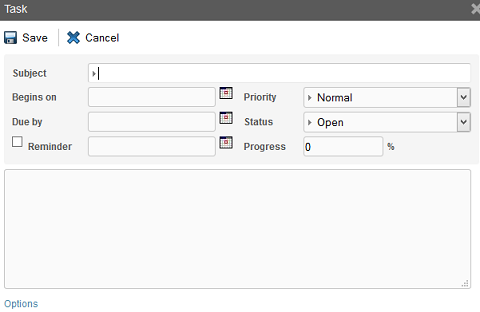
By clicking on the link New task, a tooltip will be opened, in which you can enter the task.
Exchange - Settings
Public/private options will be entered in the Exchange Settings application. The Connector for Microsoft Exchange enables the comfortable entry of public Exchange server resources. The Microsoft Exchange server does not make information about public items available. These must – as is usual in Microsoft Outlook – always be entered by the user oneself. In order to provide a more clearly laid-out and comfortable management of publishing options, Intrexx offers the Exchange - Settings application for use.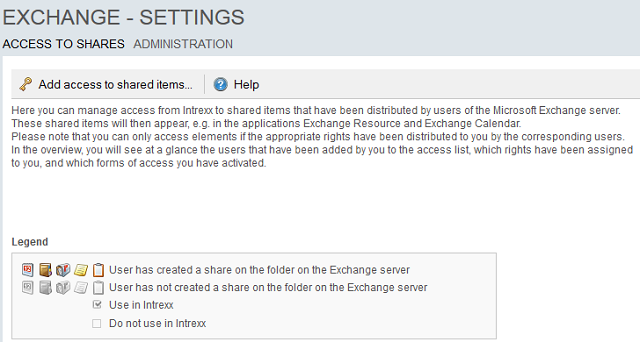
New public items will be created by using the link Add access to shared items.
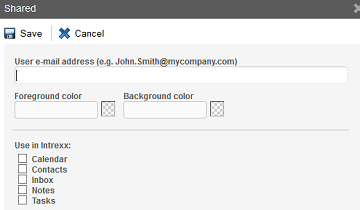
When entering a new public item, you can access the information in the User Manager. Important for making something public is the mailbox of the user. As a rule, this corresponds to the user name when logging on to the Windows network or the main email address; however, it may – depending on the IT strategy – differ from this. Enter here the resources that you wish to access:
- Calendar
- Contacts
- Inbox
- Journal
- Notes
- Tasks
To distinguish between individual users, fore- and background colors can be set for display in the charts of the Intrexx Exchange applications.
Creating Exchange applications
The connection to the Exchange server will be realized in Intrexx applications by using external data groups.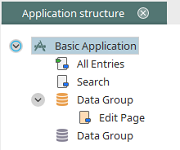
Exchange external data groups will be designated with this
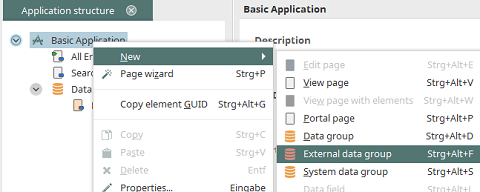
 symbol in the application structure. In the Applications module, create an external data group in any application.
Then select an existing Exchange data source connection in the properties dialog from the Database connection drop-down list.
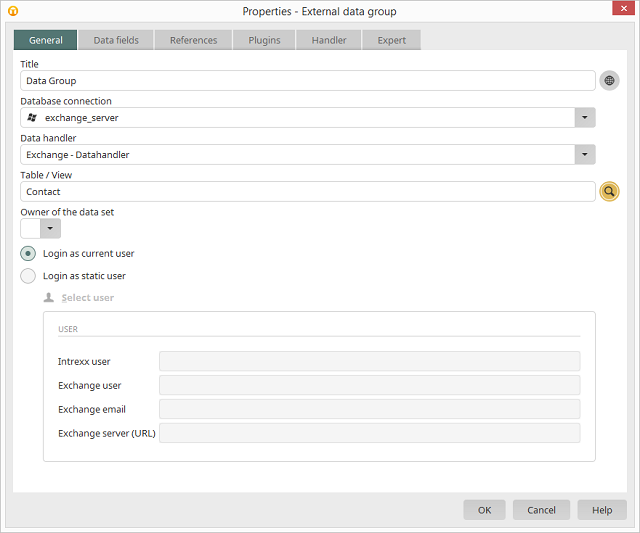
In the lower area of the dialog, a user can now be defined for access to Exchange. With the option Login as current user, the currently logged-in user will be used for access to Exchange. With the option Login as static user, the link Select user will be activated. Clicking on this link opens a dialog that allows users from the data source configuration that have been created and assigned to Exchange users to be selected.
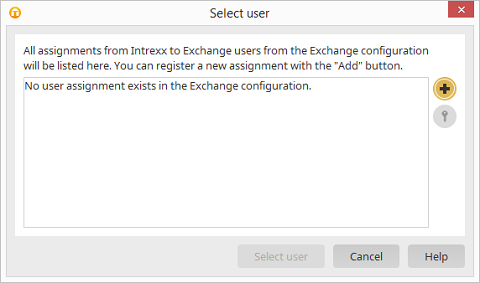
Click on
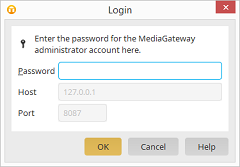
Enter the Password for the MediaGateway administrator account. The password has to be entered only once per session. click on OK here.
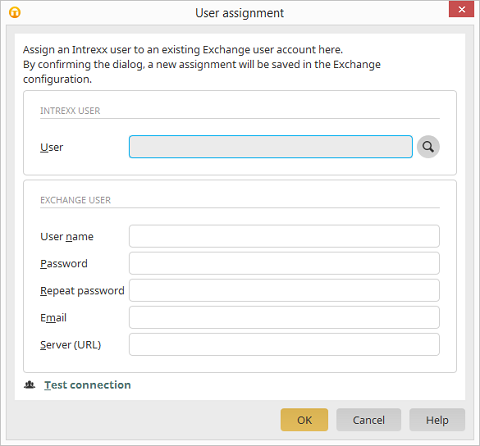
The Connector for Microsoft Exchange makes it possible, in addition to access to the personal mailbox, to also configure an application for access with a specifically defined user. This allows, for example, access comfortably to information mailboxes or group calendars. In order that these users can access data in the mailboxes of other users, they must possess appropriate permissions in Exchange.
By clicking on the link Test connection, you have the ability to test your connection, in order to ensure its functionality in further use.
Exchange controls
In the Applications module, you will find special exchange controls in the toolbox that will help you to expand your applications. These controls can exclusively be used in Exchange applications.Edit element: Exchange file selection for attachments
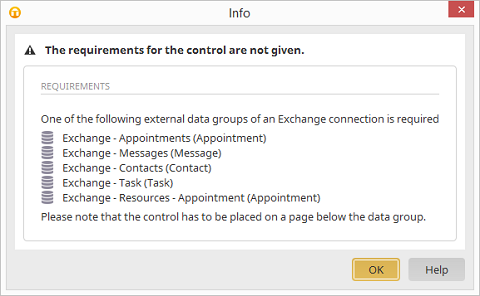
With this control, file attachments can be inserted into Exchange applications. The control may only be implemented in the foreign data groups- Exchange - Appointments
- Exchange - Messages
- Exchange - Contacts
- Exchange - Tasks
- Exchange - Resources - Appointments
The page on which the Exchange file selection for attachments is located must be placed on a page underneath the Exchange data group.
If requirements are not fulfilled, you will be notified in this dialog of which elements and structure are required for the use of the Exchange control.
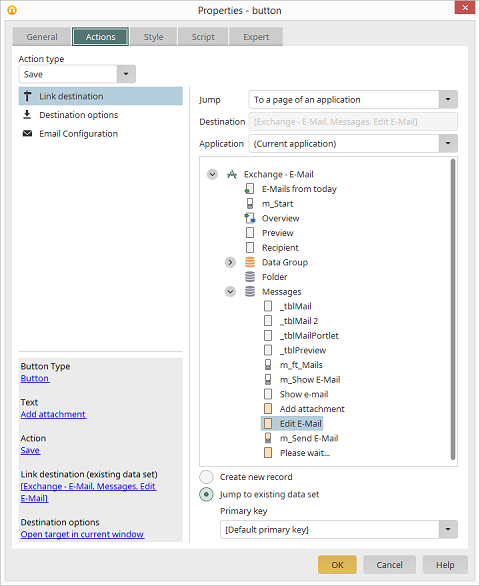
The Exchange object, such as an email to which a file should be uploaded, must exist. This is the case if, in an Intrexx Exchange application, the edit page in which mail contents are entered, for example, is saved. The Exchange file selection for attachments must therefore be implemented on its own page, which will then, for example, be loaded by the edit page via a button with the action Save. The edit page on which the Exchange file selection for attachments is located must be loaded in the main window or a pop-up. The button that loads the page with the Exchange file selection for attachments must be set with the Jump to existing data record option.
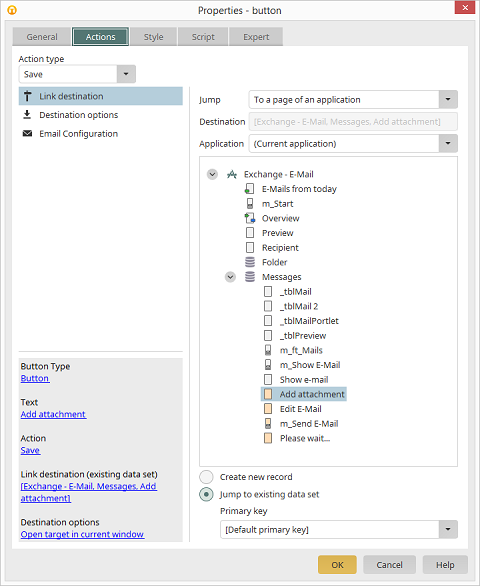
The button that saves the page with the Exchange file selection for attachments must also be set with the Jump to existing data record option. The page that is requested, such as the edit page on which the email contents are entered, must be set as jump target.
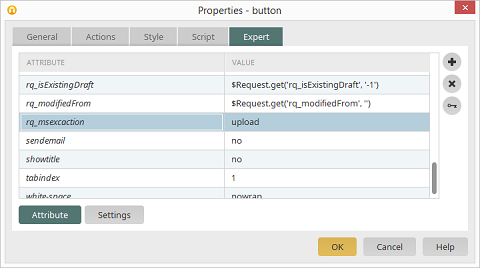
In addition, the expert attribute rq_msexcaction must be entered with the value upload.
When you drag the Exchange file selection onto the workspace, the properties dialog will be opened.
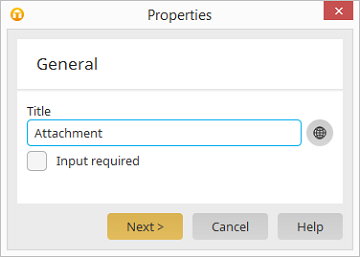
Enter the title of the file selection here. Underneath, you can define whether an Entry is required in this element. This will make the file selection a mandatory field.
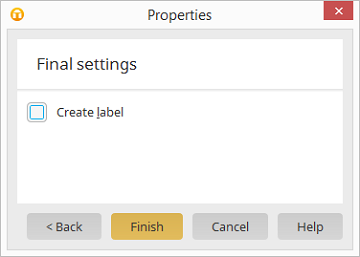
Here you can decide whether a field title should be created at the same time the new control is created, which you can use as a caption for the control.
View element: Exchange file selection for attachments
With this control, file attachments can be shown in an Exchange data group as a collection of download links.
Enter the title of the file selection here.
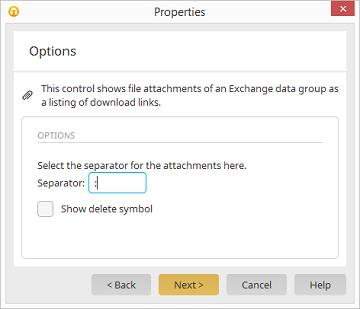
In the Separator field, enter the desired separation character for the individual file selections. Underneath, you can define whether you wish to Show delete symbol, with which individual attachments can be removed again.
Here you can decide whether a field title should be created at the same time as the new control is created, which you can use as a caption for the control.