Intrexx Share 2.2 - Contacts
A social network is based on the exchange of information. An important aspect of this exchange is the spread of the respective personal networks of the corresponding recipients. In the case of Intrexx Share, the personal network is based on contacts. In principle, any Intrexx Share user can add any other Share user to their contacts. This contact is a connection between two Intrexx Share users which is always mutual. If a user is your contact, you are also automatically a contact of that user. There are, therefore, no one-sided contacts. The contact element is shown in the News module and on the personal page.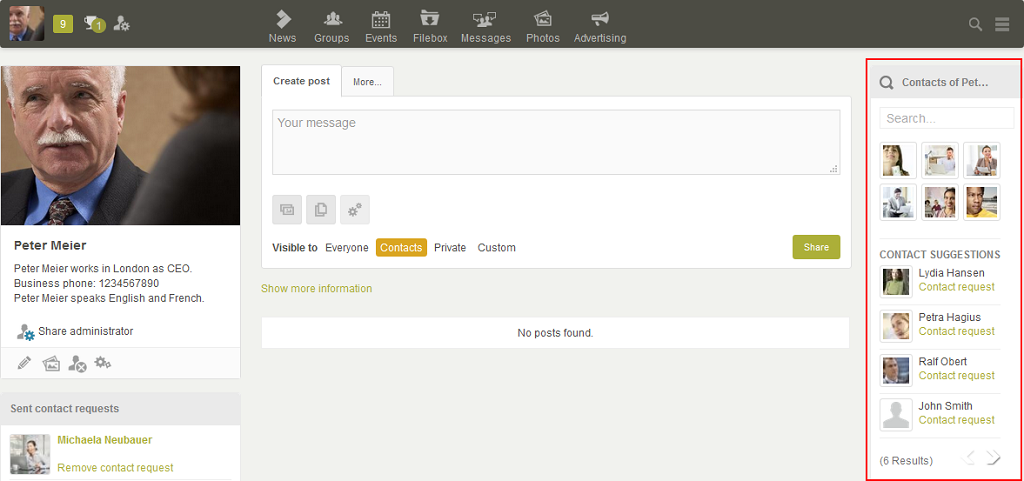
In the My contacts area, you'll see a selection of your current contacts. From all existing Intrexx Share users who do not yet belong to your contacts, random contact suggestions are displayed. If you would like to search for a specific contact, you can enter their name in the Search field. This searches through existing contacts as well as contact suggestions. If a user is found, their profile image is shown in the corresponding area. To show all contacts and contact suggestions, delete the search term from the search field. The search field can be shown/hidden by clicking on
1. Send contact request
By clicking on Contact request, you can send the person a contact request. This link is found in the contact suggestion list.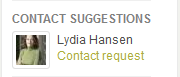
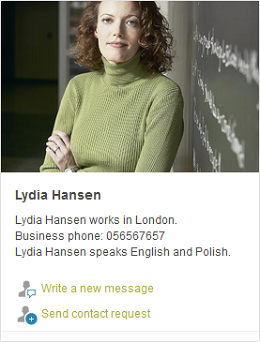
You can also find this link on the personal page of the corresponding user, provided this user is not already one of your contacts.
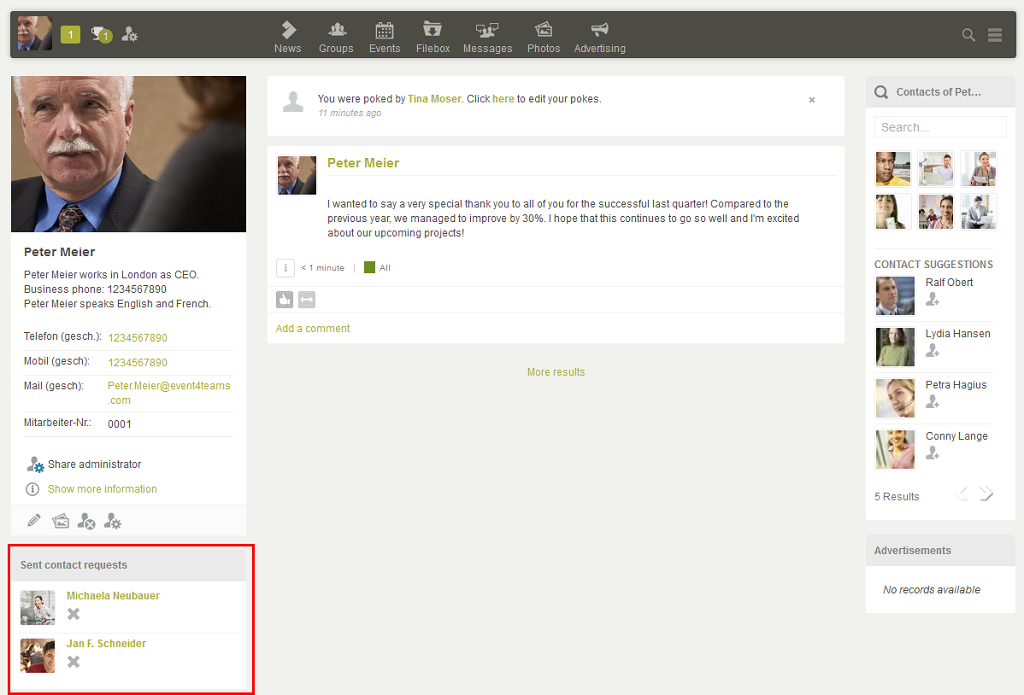
On your own personal page, you can see the element Sent contact requests. This displays show all contact requests sent by you provided they have not been accepted or removed by the recipient.
If you would like to take back a contact request, click on
2. Receive contact request
You will see the element You have new contact requests on your personal page.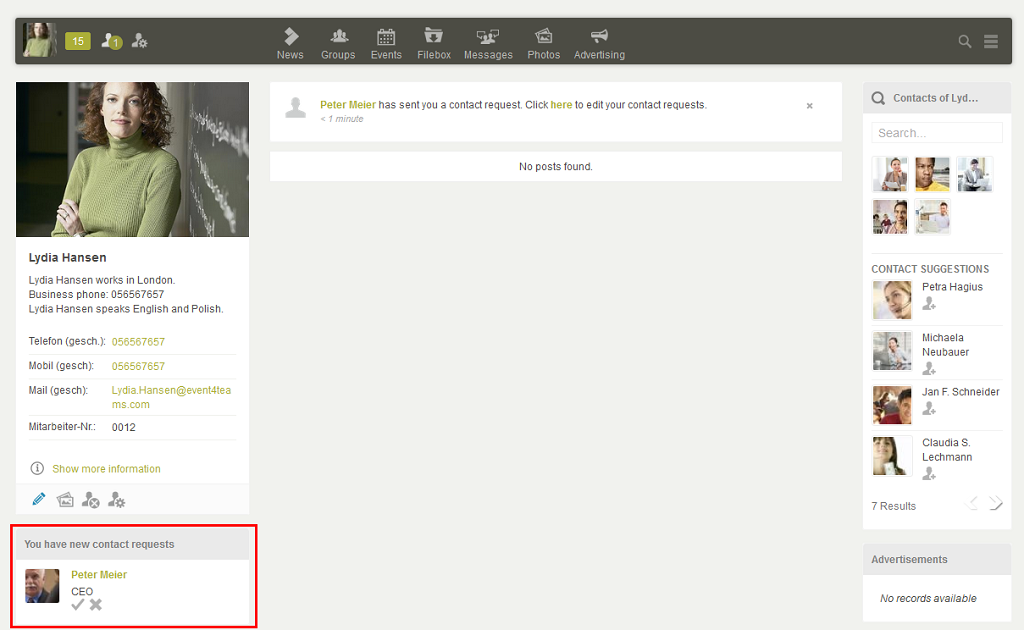
Contact requests sent to you by other users will be shown here. Click on
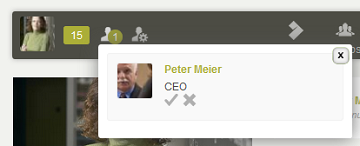
New contact requests are also shown in the Navigation bar. If you click on the corresponding symbol, this will open a windown where you also have the option to confirm or remove the contact request. The sender receives a notification when you click on Confirm contact request. This person will then be added to your contacts. If you remove a contact request the sender will not be notified of this.
3. Delete contact
Existing contacts can be deleted on the personal page of the respective user.
Click on
4. Pokes
Pokes can only be used when the corresponding colleague has provided permission for this in their Profile settings. A poke can be entered on the personal page of the respective user. There, click on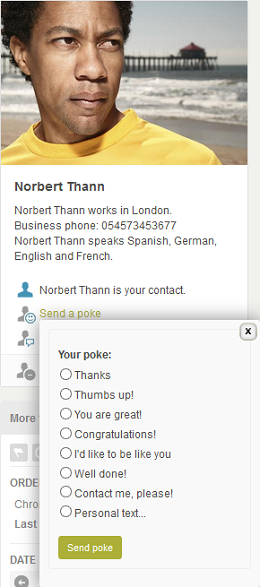
Select a poke or enter your own text and confirm your entry with Send poke. The total number of pokes, which you have received from other users, is shown in the Navigation bar. Furthermore, the Pokes element on your personal page will also inform you about new pokes.
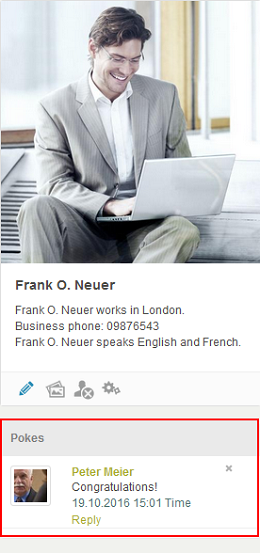
You will also receive a notification about a new poke. If you click on the link Reply you can respond to the poke.
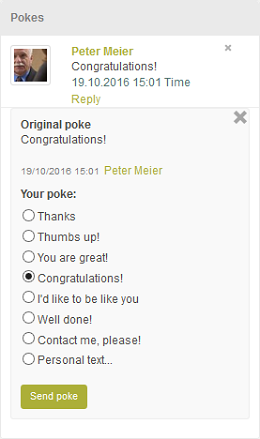
When you reply to a poke, the original poke is deleted and therefore no longer shown in the overview. If you would only like to take note of the poke but not respond to it, click on