Connector for Microsoft Office 365 in applications
Applications module1. Preparation
Click here to read which steps are required before you can configure the Intrexx application.2. Data fields
2.1. ItemID
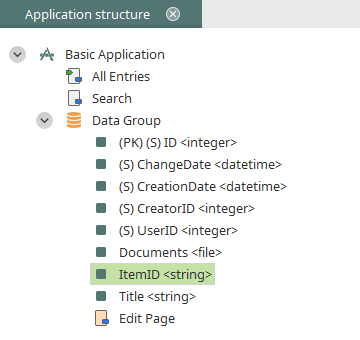
To map files from Microsoft OneDrive or Microsoft SharePoint to Intrexx data records, a string data field (data type: short text) with the title "ItemID" is required. Create this field in a data group in an application of your choice. External data groups are currently not supported by the Connector. The Item ID is generated automatically by Microsoft Office 365 and is a unique key. Click here for more information about creating new data fields. The data fields can be displayed in the application structure via the Edit menu / Show data fields when the data group is selected there.
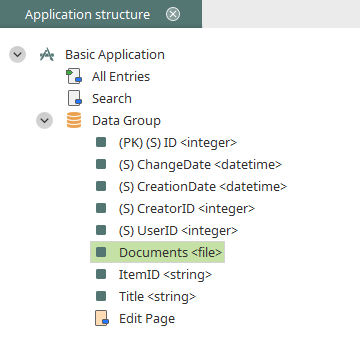
2.2. File data field
To integrate files from Microsoft OneDrive or Microsoft SharePoint into applications, a file data field is required. Create a new data field in the same data group as the ItemID.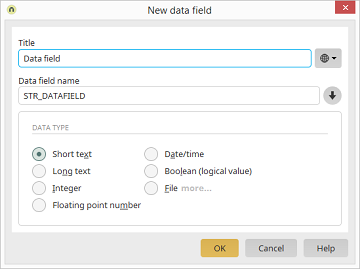
Select "File" as the data type and click on "More...".
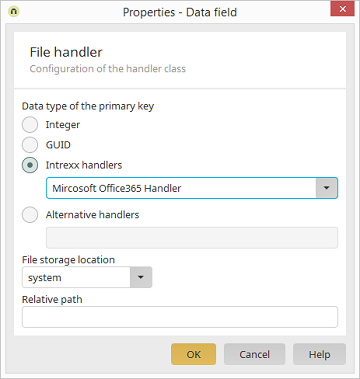
Select the Intrexx Handler for Microsoft Office 365 and click on "OK".
Open the properties dialog of the file data field.

Click here for more information about the settings in this dialog.
3. Connect edit and view elements
The data field "ItemID" must be included on every edit or view page where files from Microsoft OneDrive or Microsoft SharePoint should be displayed in the application. The files will otherwise not be displayed. Link the data field to a suitable application element to do this. The element can also be moved to the hidden area if you do not wish to display the ItemID.3.1. Edit element "File selection"
To edit Intrexx data records with Microsoft Office 365 files, proceed as follows:- Select an edit page in the application structure.
- Create a new edit field and link it to the previously created field ItemID.
- Create a file selection element and link it to the created file data field configured for Microsoft Office 365.
-
Open the properties dialog
of the file selection
element.
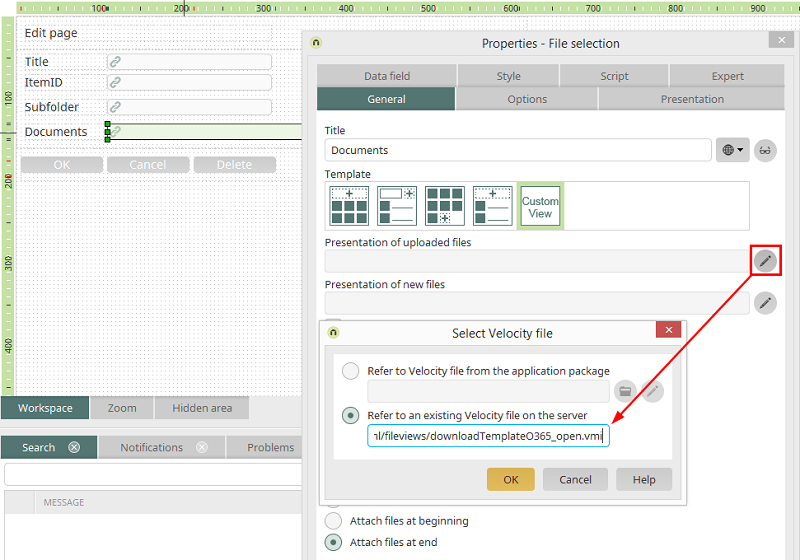
Select the template "Custom view". Click on "Select Velocity file" next to "Presentation of uploaded files".
In the next dialog,
enter the following path in the field for the option "Refer to an existing Veloctiy file on the server":
"Select Velocity file" next to "Presentation of uploaded files".
In the next dialog,
enter the following path in the field for the option "Refer to an existing Veloctiy file on the server":
- internal/system/vm/html/fileviews/downloadTemplateO365_open.vmi – to edit the file directly in Microsoft Office 365.
- internal/system/vm/html/fileviews/downloadTemplateO365_download.vmi – to download the file to your computer first.
-
Switch to the "Style" tab and enter the style class "File_Edit_Standard".

- If you want to create subfolders in the target folder and organize newly uploaded files in these, create another edit field on the edit page. Connect this field to a string data field (data type: short text) where the subfolder name is saved. The subfolder is generated automatically in Microsoft OneDrive or Microsoft SharePoint respectively, as soon as a data record is saved on this edit page.
| The metadata from files is not automatically transferred by the Connector for Microsoft Office 365. Data also is not synchronized when changes to the metadata (e.g. change date) are performed directly in Microsoft OneDrive or Microsoft SharePoint. |
3.2. View element "File selection"
To display Microsoft Office 365 files, proceed as follows:- Select a view page in the application structure.
- Create a view field and link it to the previously created field ItemID. If you do not wish to display the ItemID on this page, you can move the view field to the hidden area.
- Create a view file selection element and link it to the created file data field configured for Microsoft Office 365.
-
Open the properties dialog
of the view file selection
element.
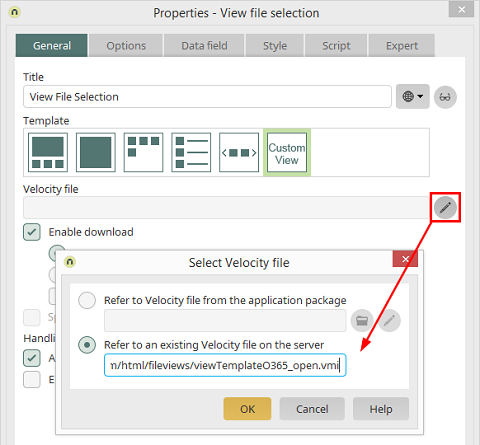
Select the template "Custom view". Click on
"Select Velocity file" next to "Velocity file".
In the next dialog,
enter the following path in the field for the option "Refer to an existing Veloctiy file on the server":
- internal/system/vm/html/fileviews/viewTemplateO365_open.vmi – to edit the file directly in Microsoft Office 365.
- internal/system/vm/html/fileviews/viewTemplateO365_download.vmi – to download the file to your computer first.
- Switch to the "Style" tab and enter the style class "File_View_Standard".
3.3. File selection in view tables
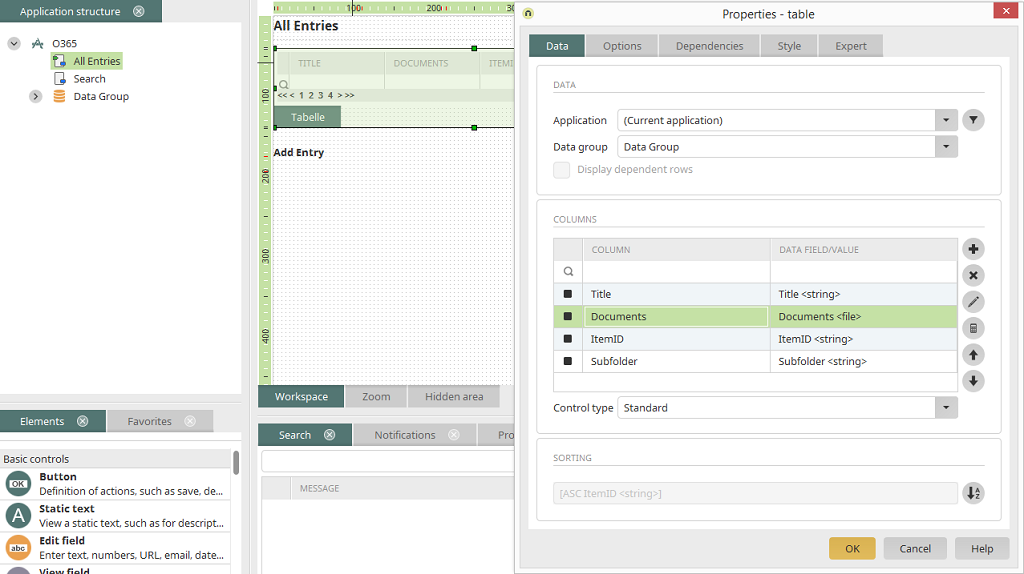
The file data field configured for Microsoft Office 365 can be included in a view table as a column. The data field ItemID needs to be one of the table columns, otherwise the files will not be shown in the table. The ItemID column can be hidden if it shouln't be displayed in the table. Follow steps 4 and 5 as described for the view file selection element when editing the file field column.
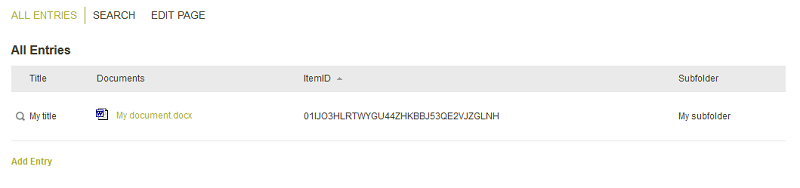
4. The application in the browser
Once the application has been published, files can be added in the browser.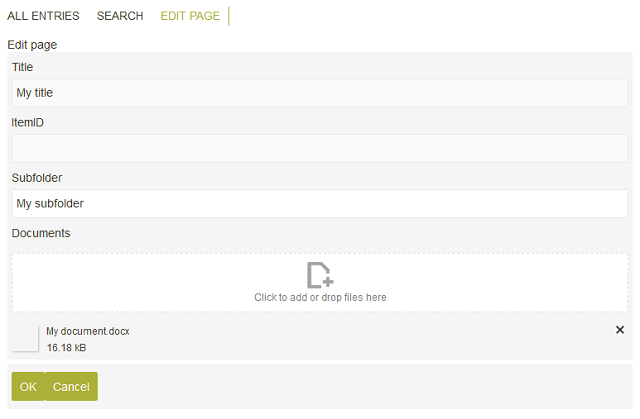
Switch to the edit page of the application and enter data there. Leave the "ItemID" field blank. The ItemID is generated automatically as soon as the data record is saved. Select a file and save the record. If you are not currently logged-in to the Microsoft site, you will automatically be forwarded to the login page. Afterwards, the data record will be displayed - in a view table in our example. You will now find the new file in you Microsoft Office 365 folder. If you have defined a subfolder, the new subfolder is created automatically in Microsoft Office 365 and contains the new file.
When you click on the file here, the file will either open (provided you have the corresponding permissions) in Microsoft Office 365 in a new tab or be made available for download - depending on which Veloctiy template was specified in the file selection configuration.
| Please note that changes made to folder structures or file names in Microsoft Office 365 do not update records in Intrexx. If you delete a file on Microsoft Office 365, it will no longer be shown in Intrexx. |
5. Integrate existing files with the ID from Microsoft Graph
If you already have files on Microsoft OneDrive or Microsoft SharePoint, which you would also like to display in your Intrexx application, proceed as follows:-
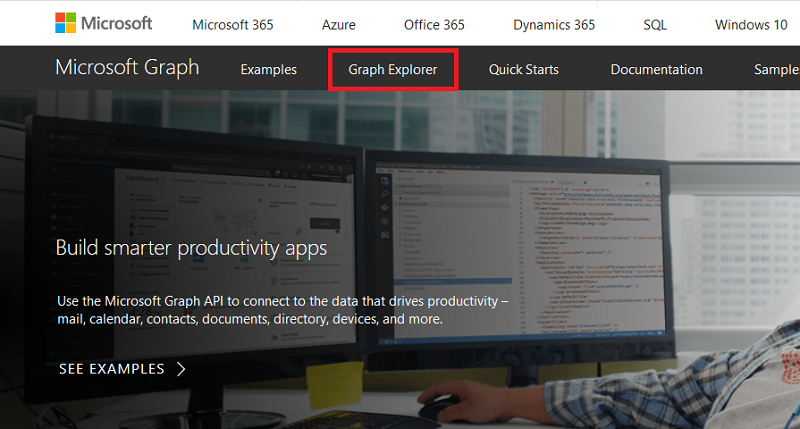
Open graph.microsoft.com and
open the Graph Explorer there.
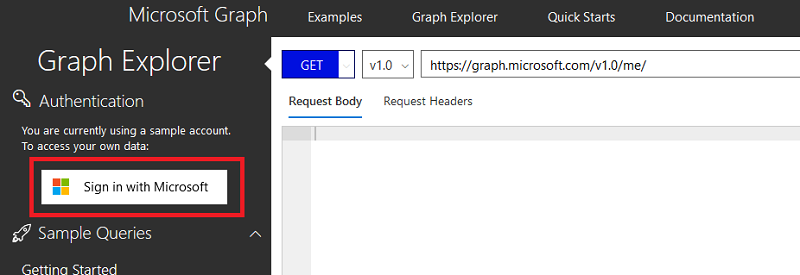
-
Log in.
- In the folder selection dialog in the Intrexx Portal Manager, select the folder that contains the files you want to integrate and copy the entire row with CTRL + C.
-
Paste the copied content into a text editor of your choice with
CTRL + V. Here is an example:
Folder key Folder name Folder ID Drive ID DOCUMENTS Documents 01PPPBGR4ABAWRR5CKZVEYFNBXK98G5OZR b+SIn269PlCqkW9z-kT4zJW2bIkkN9uNAVOoorwiPZlvgznk8greuyvRoanbHTYhGGC -
Switch back to Microsoft Graph and modify the URL https://graph.microsoft.com/v1.0/me/
as follows:
https://graph.microsoft.com/v1.0/drives/<Drive-ID>/items/<Folder-ID>/children
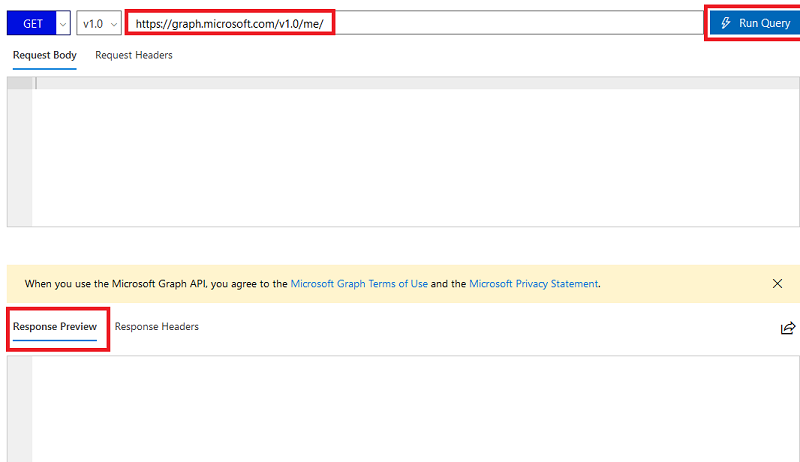
Click on "Run Query". In the Response Preview, search for the filename of the file that you want to integrate into your Intrexx application. Copy the ID for the file in the corresponding section. This corresponds to the ItemID. - Open you application and enter the ID on the edit page in the "ItemID" edit field. Save the data record. The file is now available in the application.
6. More information
Connector for Microsoft Office 365Consume Microsoft Office 365 data Microsoft Office 365 in processes
Import / Export